Whether you’re a gamer protecting a custom build, a remote worker relocating to a new home, or a student heading to college, hastily packing your computers can damage components, result in data loss, or cause costly repairs. Based on our experience in full-service packing and moving services, here’s a step-by-step guide on how to pack a desktop computer for travel.
How to Pack a Desktop Computer for Moving
To pack a desktop computer, first back up your files, then carefully remove the hard drive and connecting cables. Next, focus on the computer tower, monitor, printer, keyboard, and mouse, keeping miscellaneous items gathered in a sealed plastic bag. Finally, put packing paper in any empty spaces to add stability, then wrap the boxes with packaging tape.

Your computer should be one of the last things you pack up before moving and one of the first things to get unpacked when you move into your new place. Like most electronics, your computer hardware is more susceptible to the elements, extreme temperatures, and rough handling, so you need the proper techniques for wrapping it up.
1. Back Up Files and Remove the Hard Drive and Cables
Just in case a worst-case scenario occurs, you want to make sure your files, photos, hard drive, and cables are safe. The external hard drive, in particular, can be susceptible to movement. Your best bet is to simply take it out and keep it with you when you move.
- Back up on an external hard drive or disk, as well as an online storage service like Google Drive or Dropbox.
- After turning off the computer, unplug the power cable from the power outlet.
- Disconnect the cables from your computer, including wires for the monitor screen, keyboard, mouse, speakers, printer, and Ethernet. You can use a plastic bag to pack them separately.
2. Pack Everything Separately
Break the computer down into its individual components – tower, monitor, speakers, keyboard, printer – and pack each one up on its own.
If possible, use the boxes the computer parts came in. These were made specifically for your computer parts, which makes them perfect for packing. However, we understand if you threw those out years ago, so you can use other packaging materials available in your home, or we can provide you with the necessary materials.
3. Place the Tower in a Separate Box
The computer tower is one of the two most delicate parts that you’ll want to wrap with extra care.

- Find a box that’s roughly twice the size of the tower.
- Put packing peanuts in the bottom.
- Put the tower in the box.
- Fill the remaining empty space with packing peanuts.
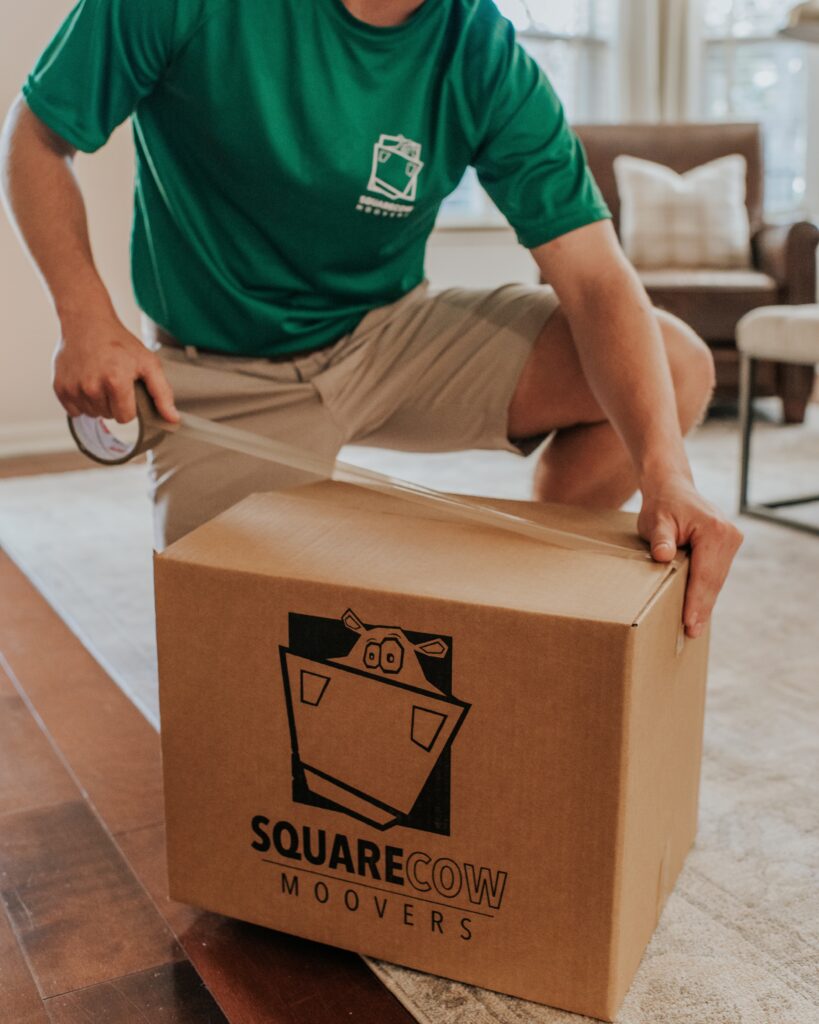
- Double tape the openings with heavy-duty packing tape.
- Use a permanent marker to add the labels ‘Fragile’ and ‘This Side Up’.
4. Put the Computer Monitor in a Different Box
If you have a large monitor screen, it’s best to pack it separately, mainly to safeguard the fragile screen from dents and scratches.
- Get a box that’s properly suited for your monitor. Austin moving companies have containers made especially for transporting different sizes.
- Remove the stand from the computer screen and pack it separately.
- Wrap the monitor in either bubble wrap or packing paper. You may also want to invest in Styrofoam inserts as cushions.
- Place the monitor in the box and fill any void space with packing paper.
- Wrap the openings with heavy-duty packing tape.
- Add the label ‘Fragile’ on the box.
5. Repeat the Process for the Printer
We also suggest that you visit the manufacturer’s website to see if they have any suggestions on how to pack your printer. You may need to remove the ink cartridges and cables before boxing everything up.
6. Bubble Wrap the Keyboard and Mouse
These lightweight items can be carefully placed in a box with your other office items. Bubble wrap them first and place them on top of everything else.
7. Optional: Prepare the Gear for Transit in One Bigger Box
For moving your computer, you can also opt for one large box to keep the computer parts together, simplifying transport and reducing the chance of misplacing parts.

- Tape the bottom of a sturdy box and line it with a layer of bubble wrap or other protective packaging material.
- Wrap the computer tower with ample bubble wrap, placing it upright in the box.
- Wrap the monitor screen carefully, and position it upright next to the tower. If it’s too large, consider packing it separately first to prevent damage.
- Gather the cables, the keyboard, the mouse, and the rest of your accessories. Use rubber bands to bundle cables neatly. Wrap these items and put them in the box, making sure they don’t press against the computer screen.
- Fill any remaining voids with packing materials like foam inserts to prevent shifting during transit. Close the box and seal it completely with heavy-duty tape.
- Use a permanent marker to clearly label ‘Fragile’ on every side and list the contents.
Related Questions
Can I Pack a Desktop Computer in My Luggage?
You can pack a desktop computer in your luggage, although it’s generally not recommended due to the size and fragility of the hardware. If you must, make sure the individual parts are individually protected and placed in a sealed plastic bag to prevent loss.
How Do I Transport My Desktop Computer?
Transporting a desktop computer requires careful packing of individual parts. Disconnect the cables, pack the monitor and tower separately in their original boxes or well-padded alternatives. Using packing paper, wrap smaller hardware, like the keyboard and mouse to prevent damage and scratches during transit.
What Is the Best Packing Material for a Computer?
The best PC packing materials include specialized foam inserts for cushioning, along with plenty of packing paper and bubble wrap to maximize the space and prevent movement. Remember to use a plastic bag for cables and small accessories, securing them with a rubber band or packaging tape to keep everything organized.
Conclusion
By following these steps, you can keep computers secure for travel and protected within their proper packaging. Whether it’s for a local or a long-distance move, contact Square Cow Movers to handle your packing and moving needs for a stress-free relocation of your belongings.
